有趣的黑暗模式切换效果
Jan 1, 2023Front End

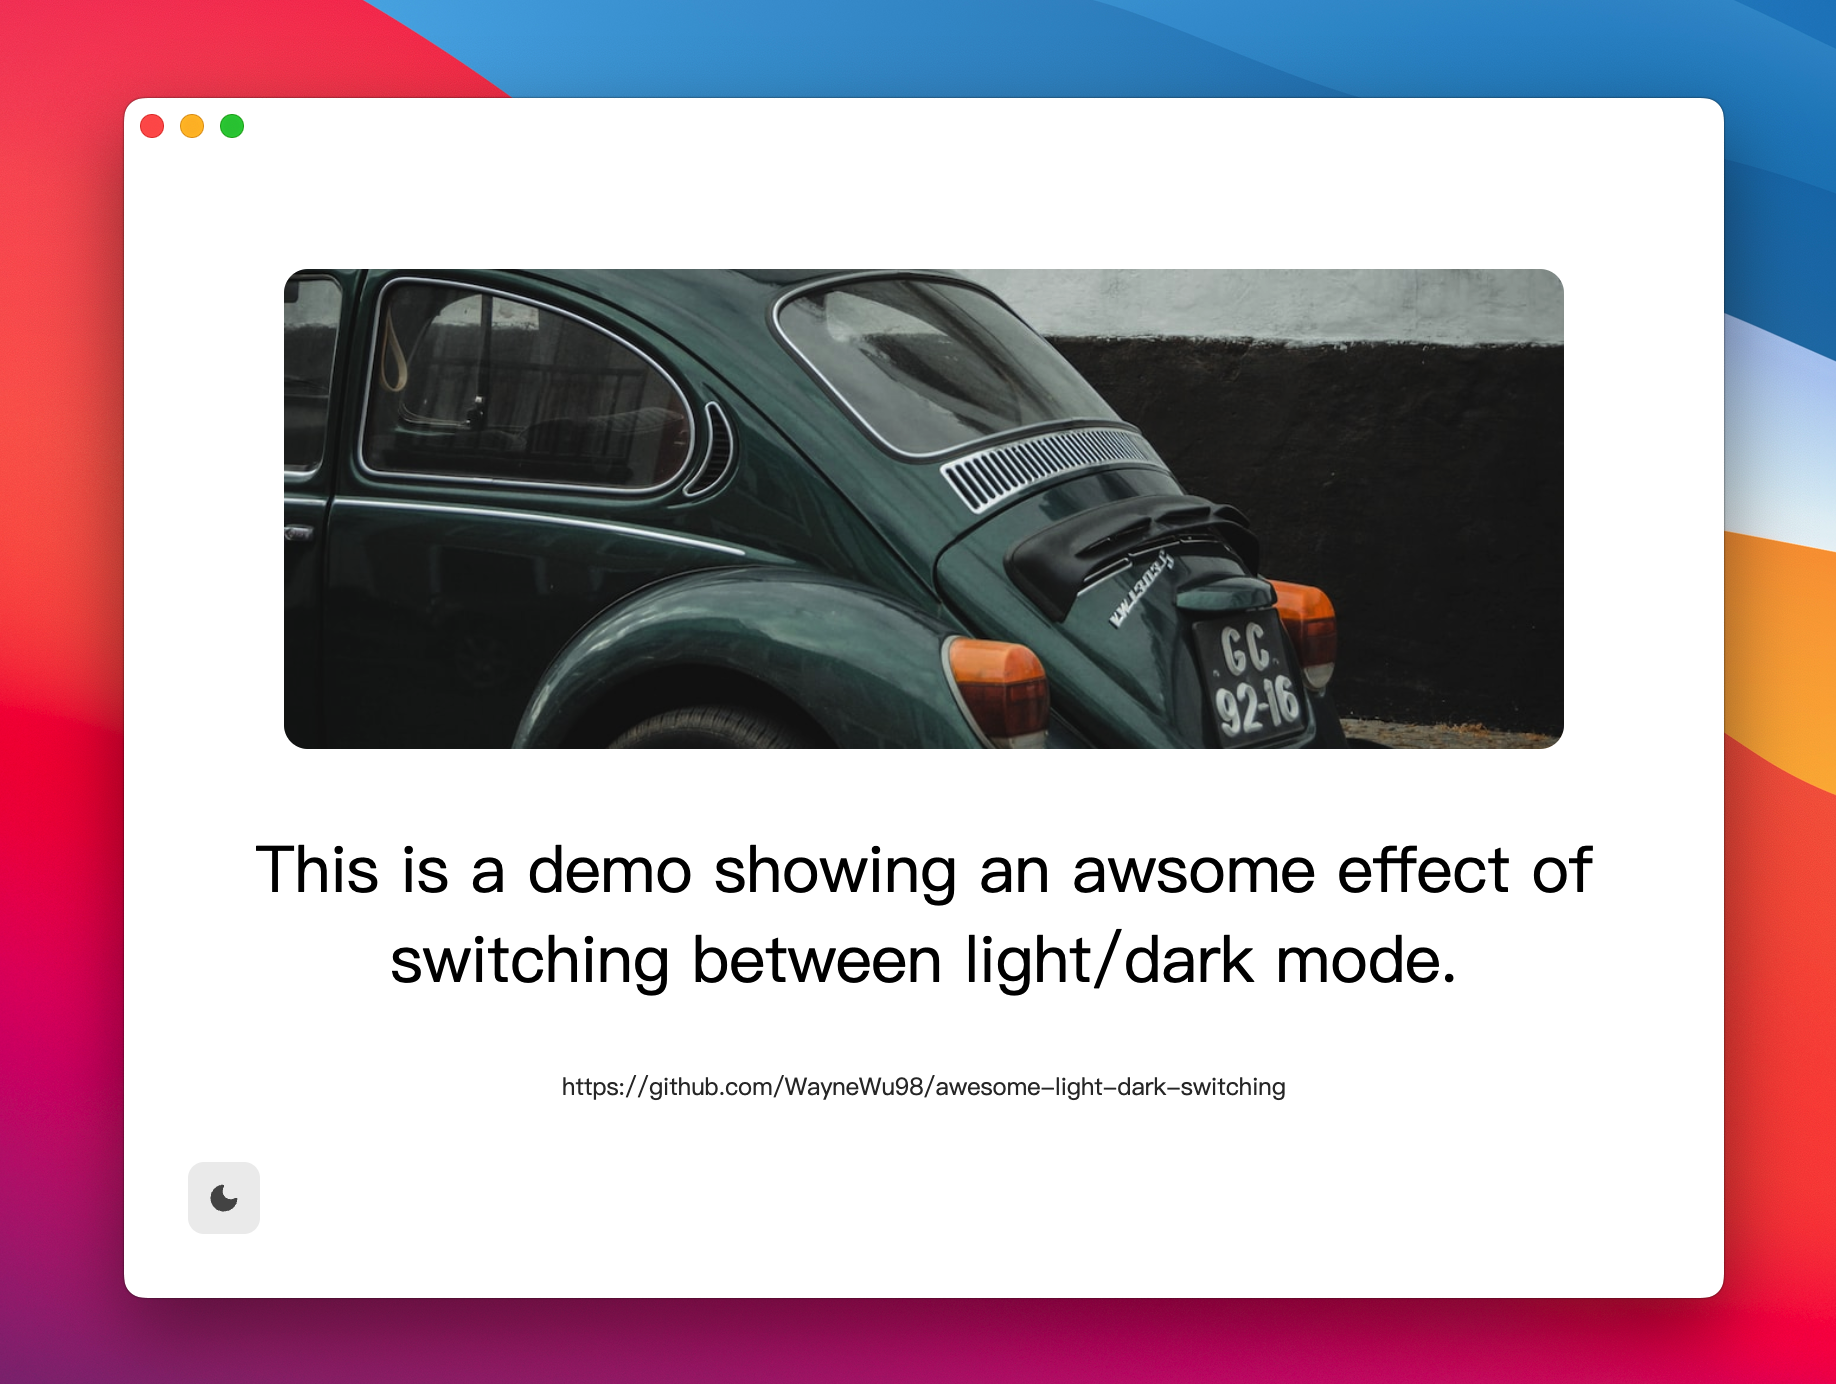
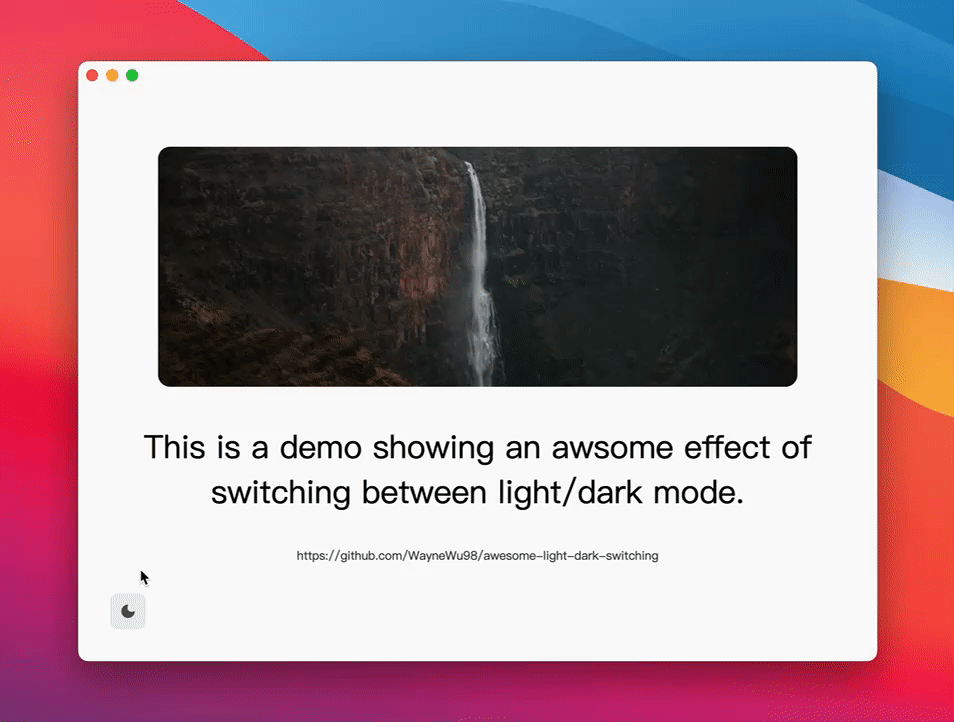
以上动图是 Bilibili Mac 客户端的黑暗模式切换效果,颜色在点击处进行分散和聚拢,整体界面的过渡十分平滑,没有分割感。目前很多产品的切换效果只是整体的变化,或许为了表现更自然一点,会加上时间的过渡。但这种新颖有趣的黑暗模式切换效果总体还是非常少见,我打算复刻一下。或许别的应用也有类似的效果,但在这里我以 Bilibili Mac 客户端为目标效果。
本篇文章将用前端技术(Electron)实现效果,不考虑 Bilibili 选用的技术栈(虽然我推测 Bilibili 也用了 Electron)。
如何实现这种效果
下图显示了切换效果某一刻的样子,我们从这一帧可以提取很多信息。

我们将 UI 分为不同的元素和块,在 WEB 技术中等同于 HTML 的各个 Element。图中颜色变化不区分元素,即不是单个元素的变化。我们不能简单的设置每个元素的颜色,于是我们考虑这么实现:
在黑暗模式按钮点击时,将切换前的窗口视图进行截图,并覆盖在窗口最上层以遮挡实际内容,然后将实际的窗口内容立刻切换到另一个效果,此时窗口看起来还是切换前的效果,接着我们将截图形状不断进行裁剪,慢慢露出遮挡下的内容,直到实际窗口完整显示出来。
代码的具体实现
以下实现基于 Electron,并且我假设你了解并熟悉 Electron,关于具体 Electron 细节并不会有太多说明。以下代码中,
main.js指主进程代码,preload.js为预加载脚本,renderer.js渲染进程 HTML 页面的 JS 代码。
我们使用 Electron 按照官网示例新建一个窗口,主线程代码是这样的(你完全可以从官网拿到基本相同的代码):
// main.js
const { app, BrowserWindow } = require('electron')
const path = require('path')

let mainWindow;

function createWindow () {
  mainWindow = new BrowserWindow({
    width: 800,
    height: 600,
    titleBarStyle: 'hidden',
  })

  mainWindow.loadFile('index.html')
}

app.whenReady().then(() => {
  createWindow()

  app.on('activate', () => {
    if (BrowserWindow.getAllWindows().length === 0) createWindow()
  })
})

app.on('window-all-closed', () => {
  if (process.platform !== 'darwin') app.quit()
})
同时窗口加载 HTML 页面,我们给页面加点内容,完成整体的布局和样式(包括黑暗模式样式),将模式切换按钮放置在左下角:
Electron 的窗口对象向外提供了一个 capturePage 接口,利用该接口可以获取窗口的截图。该接口调用运行在主进程中,我们通过预加载脚本将截图方法提供给渲染进程使用。
// preload.js
const { contextBridge, ipcRenderer } = require('electron')

// 向渲染进程 window 对象注入 APP 对象,该对象下有 capturePage 方法
contextBridge.exposeInMainWorld('APP', {
  capturePage: () => ipcRenderer.invoke('ACTION:CAPTURE_PAGE')
})


// main.js
// 修改创建窗口方法
function createWindow () {
  mainWindow = new BrowserWindow({
    width: 800,
    height: 600,
    // 添加 webPreferences 属性,将预加载脚本注入程序中
    webPreferences: {
      preload: path.join(__dirname, 'preload.js')
    },
    titleBarStyle: 'hidden',
  })

  mainWindow.loadFile('index.html')
}

// 监听 ACTION:CAPTURE_PAGE 事件,截图后转为 base64 向渲染进程传递
ipcMain.handle('ACTION:CAPTURE_PAGE', () => {
  return mainWindow.webContents.capturePage()
    .then(page => page.toDataURL())
})
至此,主进程的代码已全部完成,剩下的我们来实现渲染端的效果。给 HTML 添加 Canvas 标签,并设定一些基本的样式:
<!-- index.html -->
<style>
#canvas {
  position: fixed;
  top: 0;
  right: 0;
  bottom: 0;
  left: 0;
  /* 首先是不显示的 */
  display: none;
  width: 100%;
  height: 100%;
  z-index: 9999;
}
</style>

<canvas id="canvas" />
<!-- index.html -->
<style>
#canvas {
  position: fixed;
  top: 0;
  right: 0;
  bottom: 0;
  left: 0;
  /* 首先是不显示的 */
  display: none;
  width: 100%;
  height: 100%;
  z-index: 9999;
}
</style>

<canvas id="canvas" />
HTML 侧代码也完成了,剩下的就是如何实现整体效果了。我们给按钮元素添加点击事件来处理模式切换。
// renderer.js
const btn = document.querySelector('#switcher') // 模式切换按钮

let isDarkMode = false

const toggleTheme = () => {
  if (isDarkMode) {
    document.querySelector('html').classList.remove('dark')
    isDarkMode = false
    return
  }
  document.querySelector('html').classList.add('dark')
  isDarkMode = true
}

btn.addEventListener('click', ({ clientX, clientY }) => {
  toggleTheme()
})
以上代码仅仅实现了不同模式的切换,还没有任何动画效果。为了实现动画效果,我们应该在切换模式前(调用 toggleTheme 方法前)完成一些工作:获取窗口截图,并绘制在 Canvas 中,然后悬浮在页面最顶层。
// renderer.js
const btn = document.querySelector('#switcher') // 模式切换按钮

btn.addEventListener('click', () => {
  window.APP.capturePage()
    .then(loadImage)
    .then(img => {
      // 先调用 spread 方法
      spread(img)
      toggleTheme()
    })
})

const canvas = document.querySelector('#canvas')
const ctx = canvas.getContext('2d')

const spread = (img) => {
  const w = window.innerWidth
  const h = window.innerHeight
  canvas.width = w
  canvas.height = h
  canvas.style.display = 'block'
  ctx.drawImage(img, 0, 0, img.width, img.height, 0, 0, w, h)
}

const loadImage = src => {
  const img = new Image()
  return new Promise((resolve, reject) => {
    img.onload = () => resolve(img)
    img.onerror = reject
    img.src = src
  })
}
此时只是单纯的把截图绘制出来覆盖在页面上,即使页面已经切换模式,页面看起来与切换前没有变化,接着我们只剩下不断裁剪 Canvas 的工作了。
为了实现 Canvas 的裁剪,我们需要用到绘制上下文的 clip 方法和 非零与奇偶环绕规则。clip 方法可以将 Canvas 裁剪出一个特定区域,后续任何绘制操作都不会影响区域以外的地方;关于 非零与奇偶环绕规则 可以参考这篇文章,这里不过多赘述。
我们期望以鼠标点击处为圆心裁剪一个圆形,并将图像绘制在圆形当中,通过不断裁剪以达到 Canvas 分散或聚集的效果,因此可以这么实现:
// renderer.js
const spread = (img, { x, y, reverse }) => {
  // x, y 为点击位置
  // reverse 控制发散还是收缩
  return new Promise(resolve => {
    const w = window.innerWidth
    const h = window.innerHeight
    canvas.width = w
    canvas.height = h
    canvas.style.display = 'block'
    // 这里我们通过 getMaxRadius 获取最大的圆形半径
    const radius = Math.ceil(getMaxRadius(x, y))
    const now = performance.now()
    const DURATION = 400
    // 使用 requestAnimationFrame 接口去操作Canvas,以提高流畅度
    const raf = () => {
      const percentage = (performance.now() - now) / DURATION
      // 此时应该画多大的圆
      const r = radius * (reverse ? 1 - percentage : percentage)
      ctx.clearRect(0, 0, w, h)
      ctx.save()
      ctx.beginPath()
      ctx.arc(x, y, r >= 0 ? r : 0, 0, 2 * Math.PI, !reverse)
      if (!reverse) {
        ctx.rect(0, 0, w, h)
      }
      ctx.closePath()
      ctx.clip() // 裁剪出特定区域
      ctx.drawImage(img, 0, 0, img.width, img.height, 0, 0, w, h)
      ctx.restore()
      if (percentage >= 1) {
        // 此时整个过渡效果已经完成,将 Canvas 隐藏
        canvas.style.display = 'none'
        return resolve()
      }
      requestAnimationFrame(raf)
    }
    requestAnimationFrame(raf)
  })
}

const getMaxRadius = (x, y) => {
  // x, y 为鼠标点击位置,分别计算该位置到 Canvas 四个角的距离,并取最大值
  const { width, height } = canvas
  return Math.max(
    calcLength(0, 0, x, y),
    calcLength(width, 0, x, y),
    calcLength(width, height, x, y),
    calcLength(0, height, x, y),
  )
}

const calcLength = (x0, y0, x1, y1) => {
  return Math.sqrt((y1 - y0) ** 2 + (x1 - x0) ** 2)
}
调用 spread 方法需要做一点改动:
// renderer.js
btn.addEventListener('click', ({ clientX, clientY }) => {
    window.APP.capturePage()
      .then(loadImage)
      .then(img => {
        spread(img, { x: clientX, y: clientY, reverse: isDarkMode })
        toggleTheme()
      })
  })
// renderer.js
btn.addEventListener('click', ({ clientX, clientY }) => {
    window.APP.capturePage()
      .then(loadImage)
      .then(img => {
        spread(img, { x: clientX, y: clientY, reverse: isDarkMode })
        toggleTheme()
      })
  })
最终我们实现了它,效果出乎意料的好,与 Bilibili Mac 端的表现几乎一致。唯一不足的地方是:capturePage 获取的截图质量差强人意(Bilibili Mac 端同样存在这个问题),但在几百毫秒的动画中,用户是难以察觉的,因此这个缺点也就可以忽略不计了。
该代码已推送到 Github awesome-light-dark-switching 项目,可以查看源码了解整个实现。